Set Up a Guest WiFi Captive Portal on UniFi for Your Vacation Rental
Capture every guest's email automatically when they connect to WiFi. This step-by-step guide walks you through setting up a UniFi access point with a branded captive portal that drives direct re-bookings.
$15/mo per access point · Works with any UniFi AP · Cancel anytime
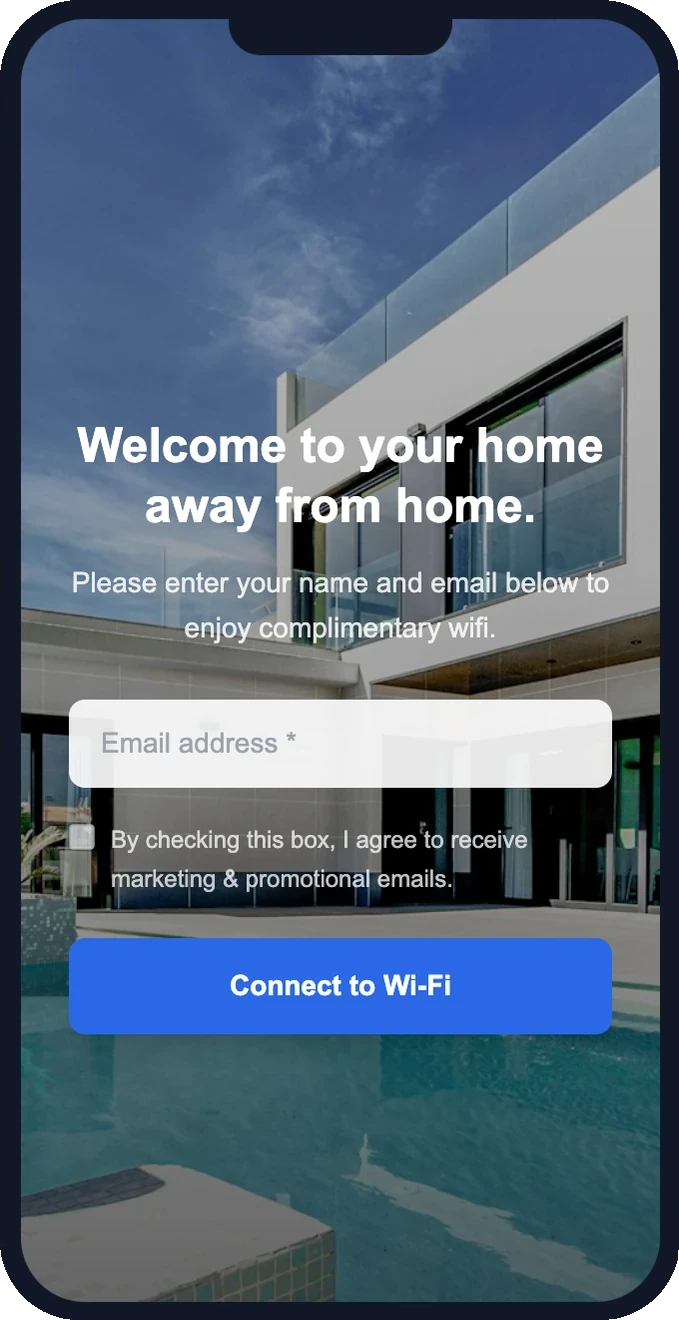
Why add a captive portal to your vacation rental WiFi?
Every guest connects to WiFi. Without a portal, that's a wasted marketing opportunity.
Build your guest email list
Capture 80%+ of guest emails without asking at check-in. WiFi is the incentive — guests trade their email for internet access.
Drive direct re-bookings
Send automated "book direct next time" emails. Returning guests save you the 15% Airbnb commission.
Secure, isolated network
Guests get their own network with client isolation. They can't see your smart home devices or each other's devices.
What you need
Five things — most hosts already have four of them
- A UniFi access point — U6-Lite ($99) or U6+ ($129)
- Your existing router — any brand, any ISP
- An ethernet port on your router (or a simple switch)
- A computer with SSH — Terminal on Mac, PowerShell on Windows
- A DirectBookings account — $15/mo per access point, cancel anytime
Step-by-step setup guide
From unboxing to live captive portal in about 10 minutes
Buy a UniFi access point
Step 1Get a UniFi U6-Lite ($99, studios) or U6+ ($129, 1-4 bedrooms). One device per property is all you need. Order from the Ubiquiti Store or Amazon — they ship fast.
Plug it in
Step 2Connect the included ethernet cable from your router to the access point. The cable carries both data and power (PoE) — no separate power cord needed. The light turns on within 30 seconds.
Find the device IP
Step 3The AP gets an IP address from your router (usually 192.168.1.xxx). Check your router's admin page under connected devices, or use a free network scanner app like Fing.
SSH in and run set-inform
Step 4Open Terminal (Mac) or PowerShell (Windows). SSH into the device with the default credentials, then run a single command to connect it to the DirectBookings cloud controller.
ssh ubnt@192.168.1.xxxset-inform http://unifi.dnsverify.xyz:8080/informRegister the AP in your dashboard
Step 5Go to Guest WiFi → Setup in your DirectBookings dashboard. Enter the MAC address from the label on the back of your device (format: AA:BB:CC:DD:EE:FF) and choose your WiFi network name.
Run set-inform a second time
Step 6Go back to your SSH session and run the same set-inform command again. This makes the connection permanent — the AP will reconnect to our controller automatically after power outages.
set-inform http://unifi.dnsverify.xyz:8080/informDesign your splash page
Step 7Go to WiFi Experience in your dashboard. Use the drag-and-drop editor to set your property's logo, colors, background image, headline, and which fields to collect (email, name, phone). Pick from 12 hospitality-focused templates or start from scratch.
Test it
Step 8Connect your phone to the guest network (the SSID you chose in step 5). You should see your branded splash page. Enter your email — if you land on the Connected page, everything works. Your guests will have the same experience.
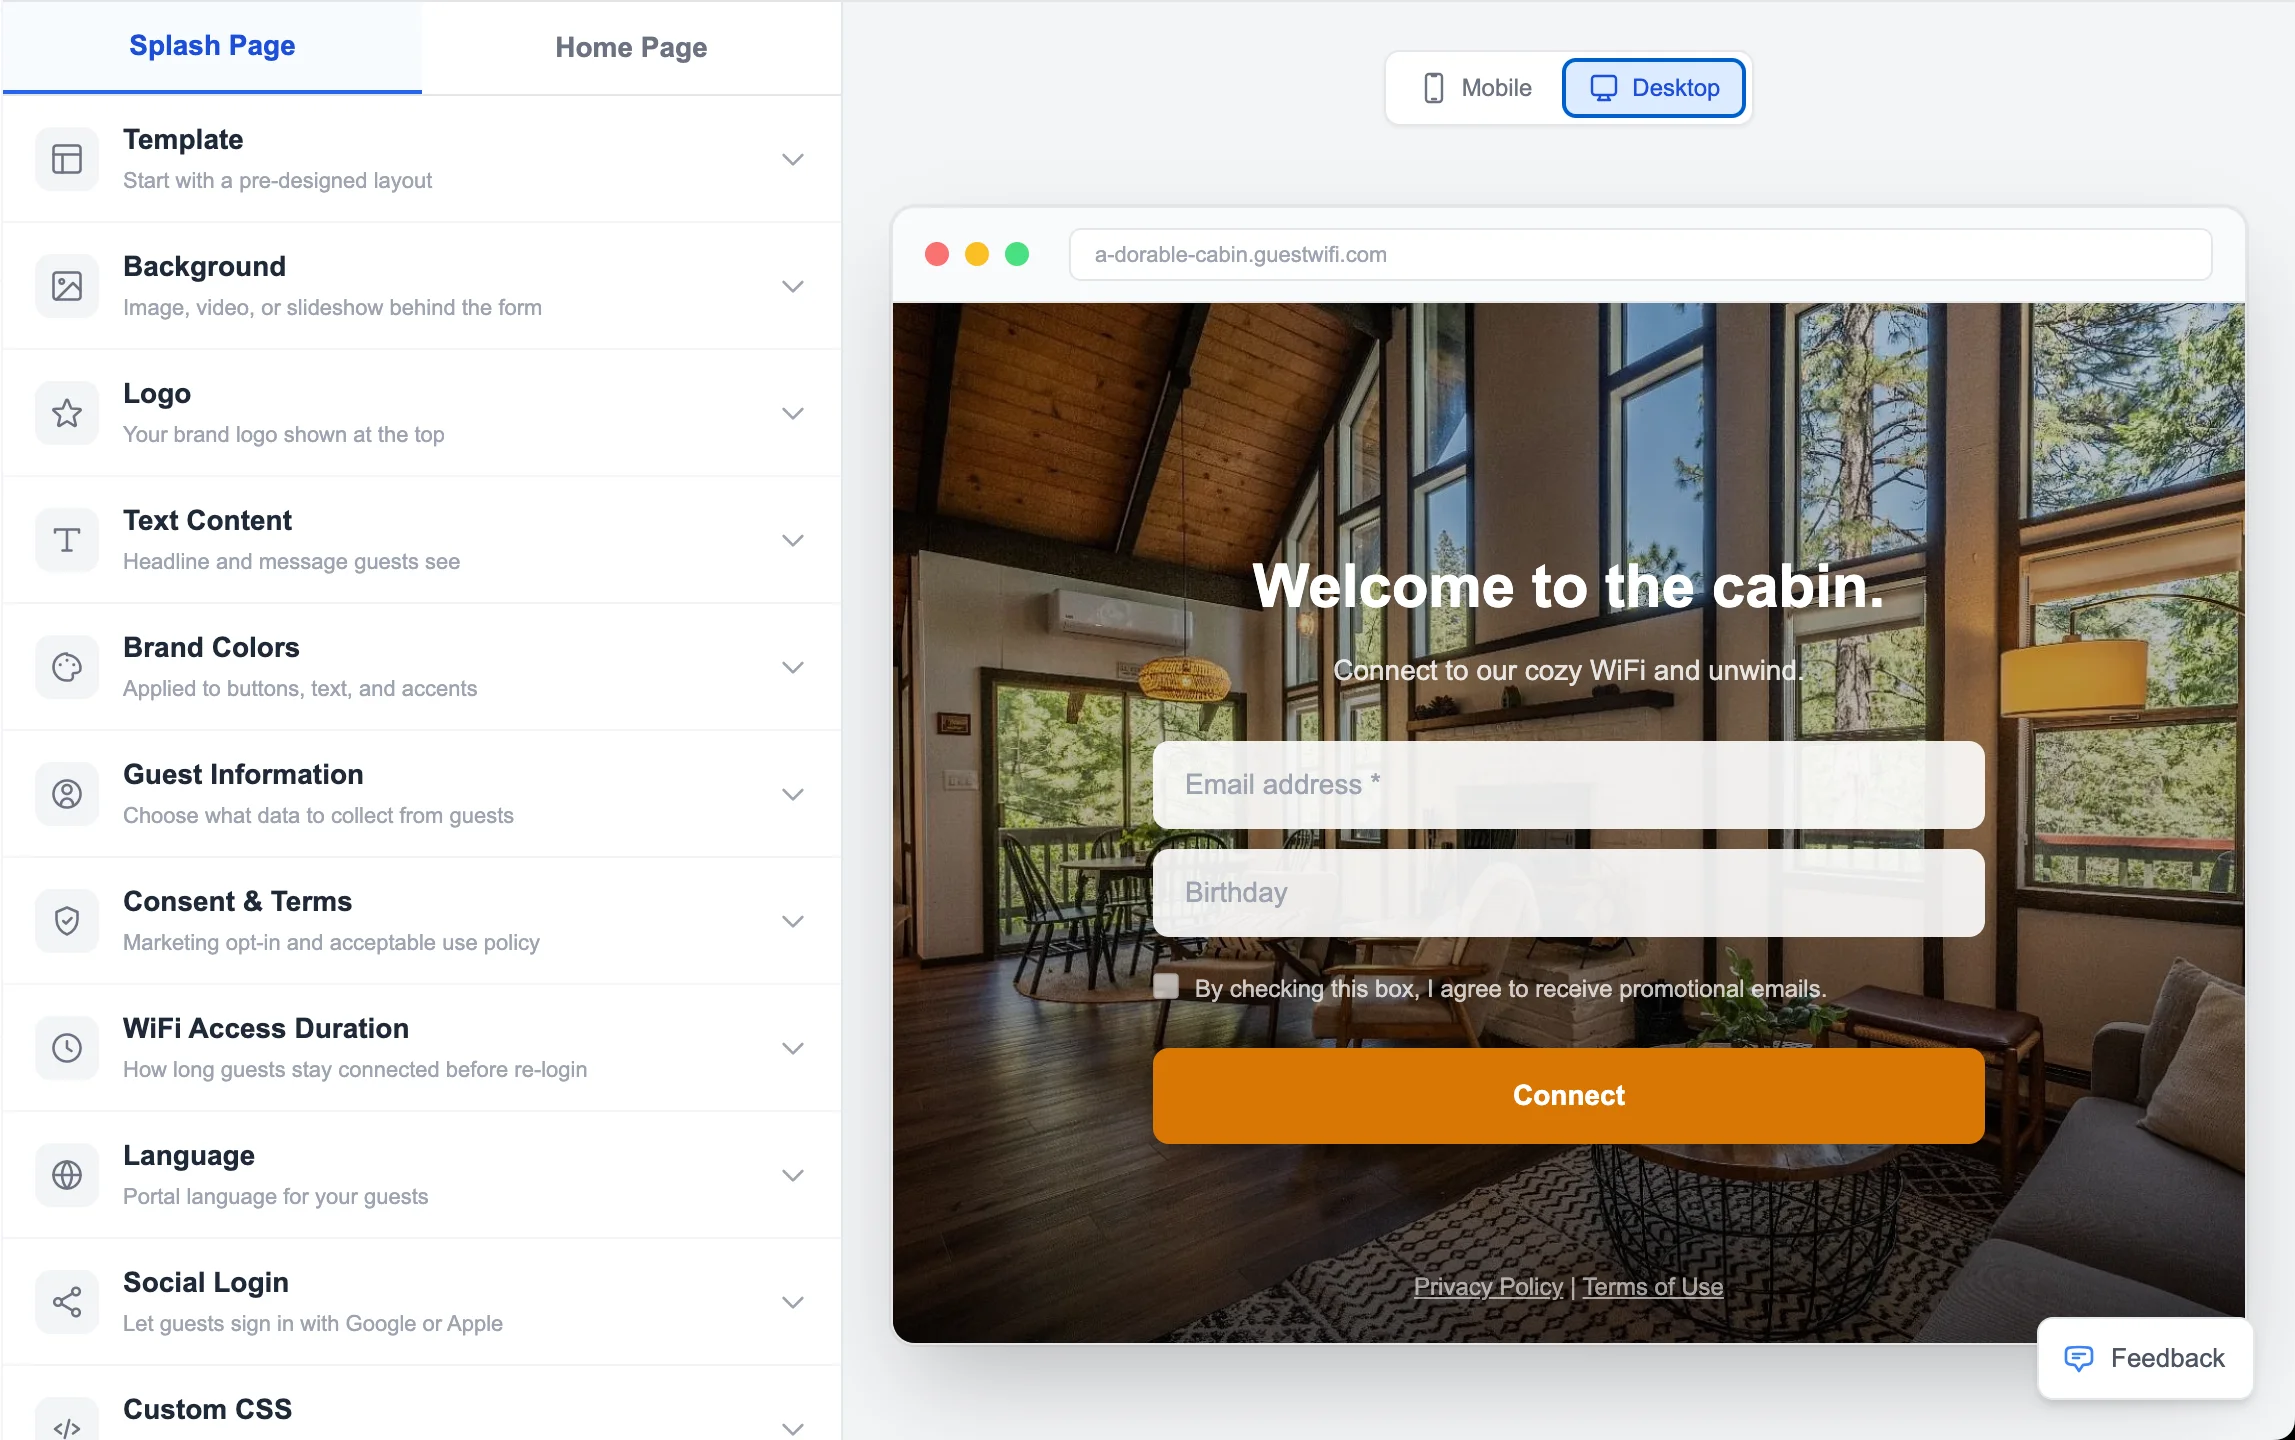
The editor you use
Configure your UniFi captive portal from a drag-and-drop editor. Pick a template, brand it, go live.
See it in action
12 designer splash page templates — every one fully branded with your photos, logo, and colors. This is what your guests see the moment they connect.
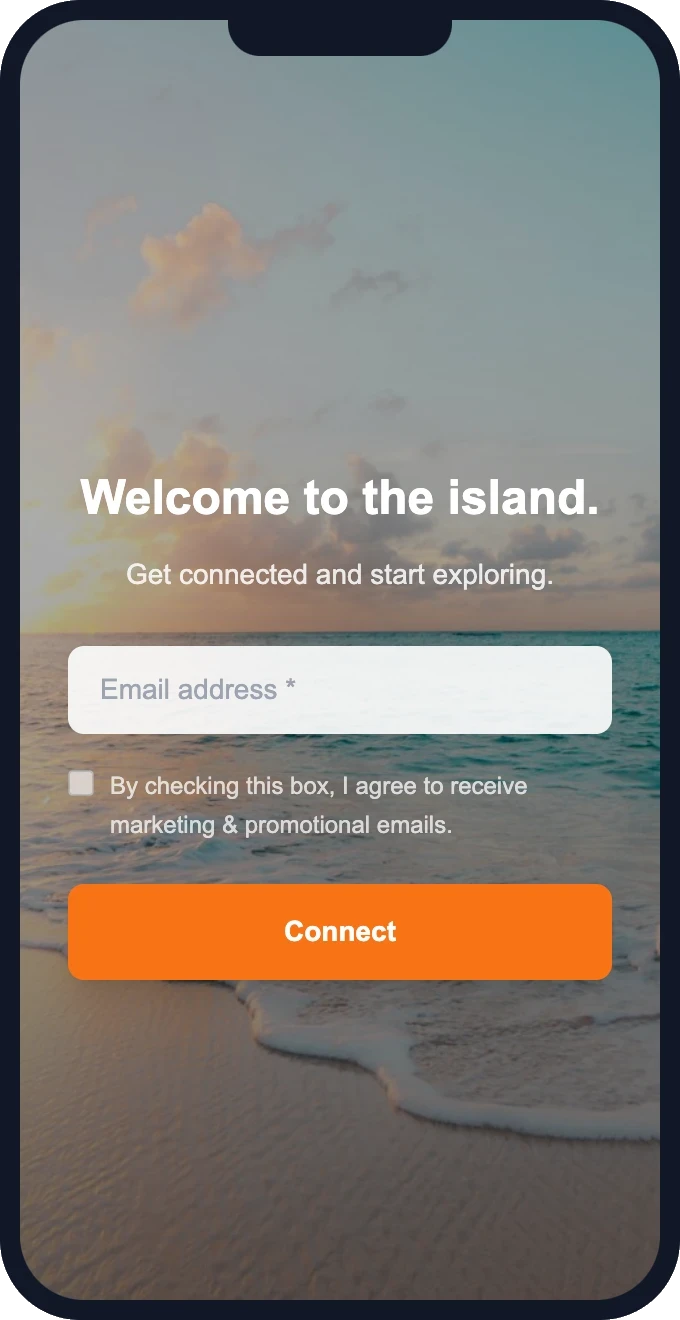
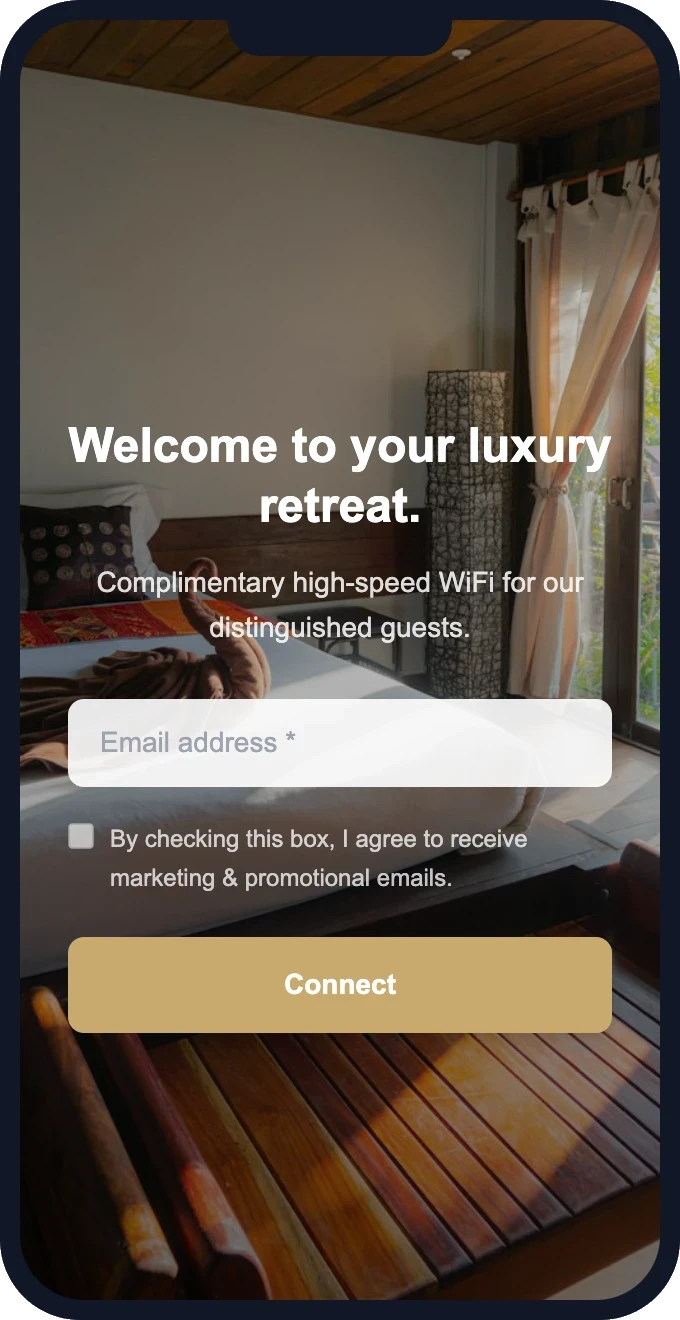
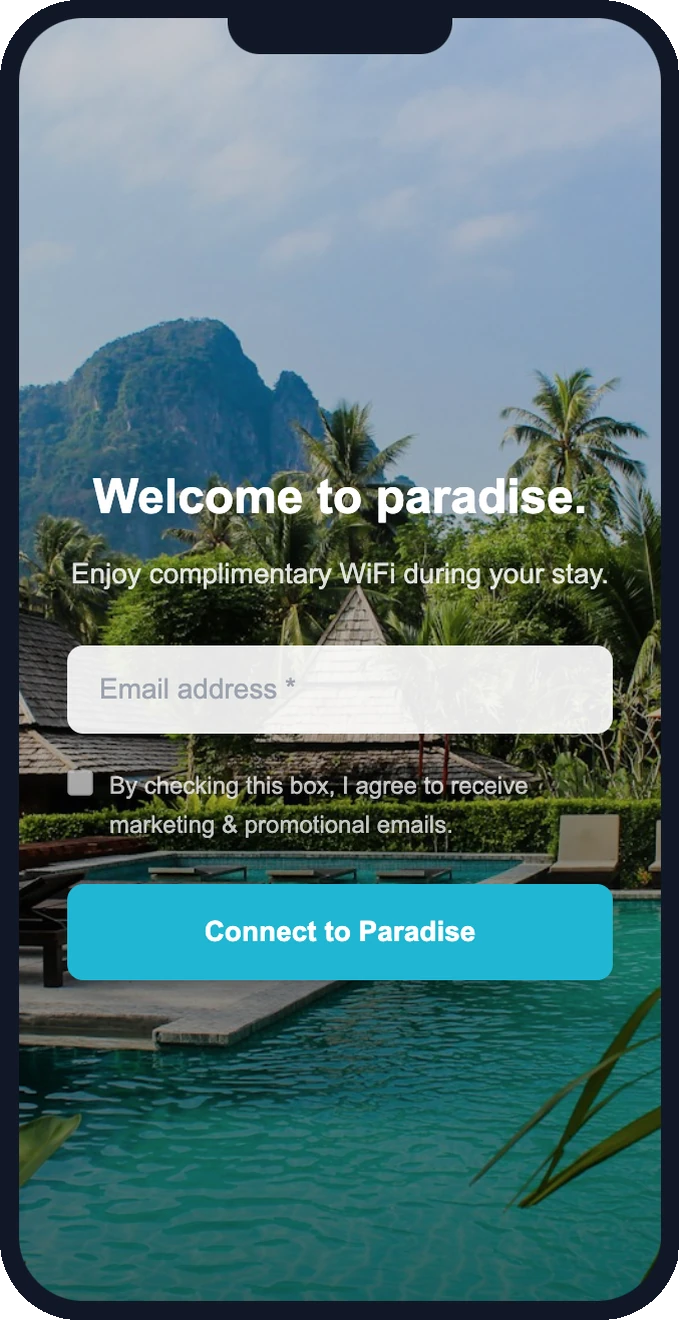
Free setup · Pick a template and customize in minutes
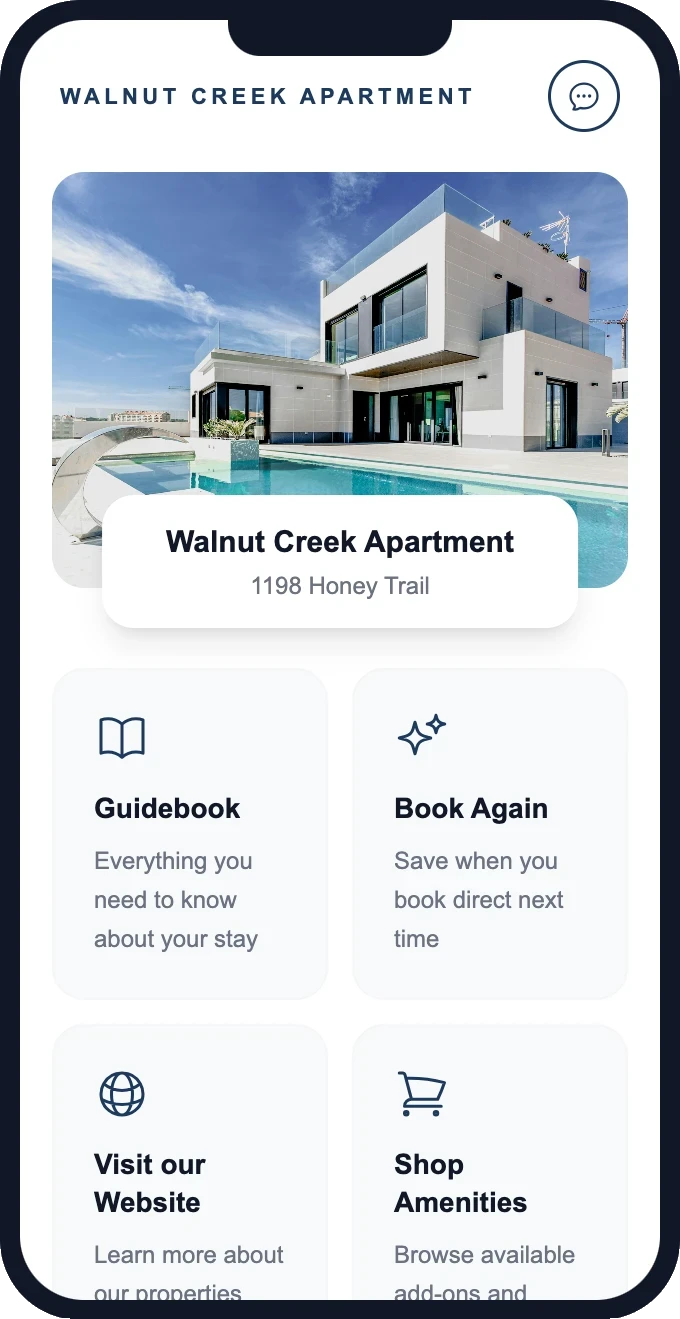
Guests don't just connect — they explore
After joining your WiFi, guests land on a branded homepage with links to your guidebook, your direct booking site, and a one-tap way to book again.
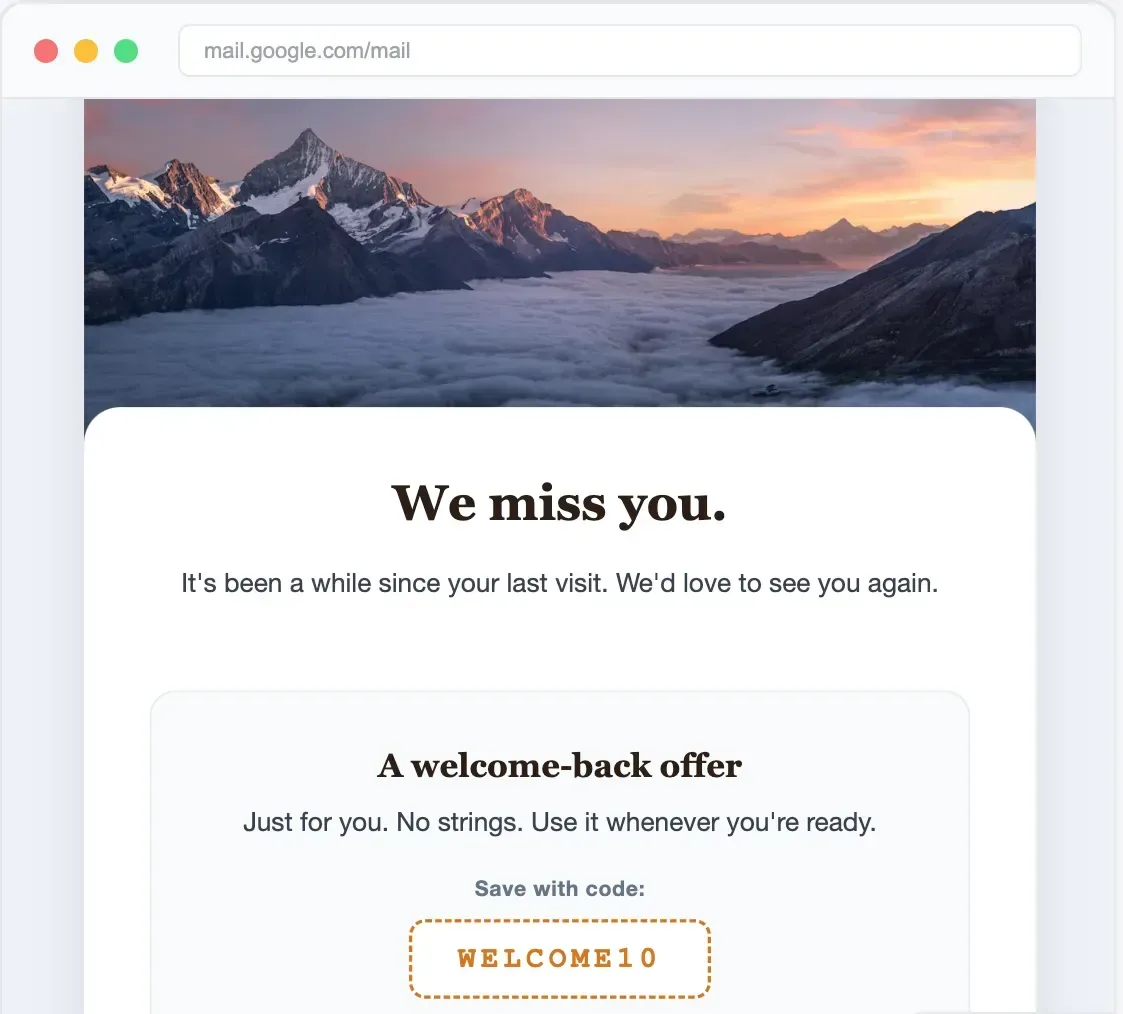
Send promotions that bring them back
Built-in email campaigns — automated welcome, re-visit nudges, seasonal offers, loyalty rewards. No Mailchimp needed.
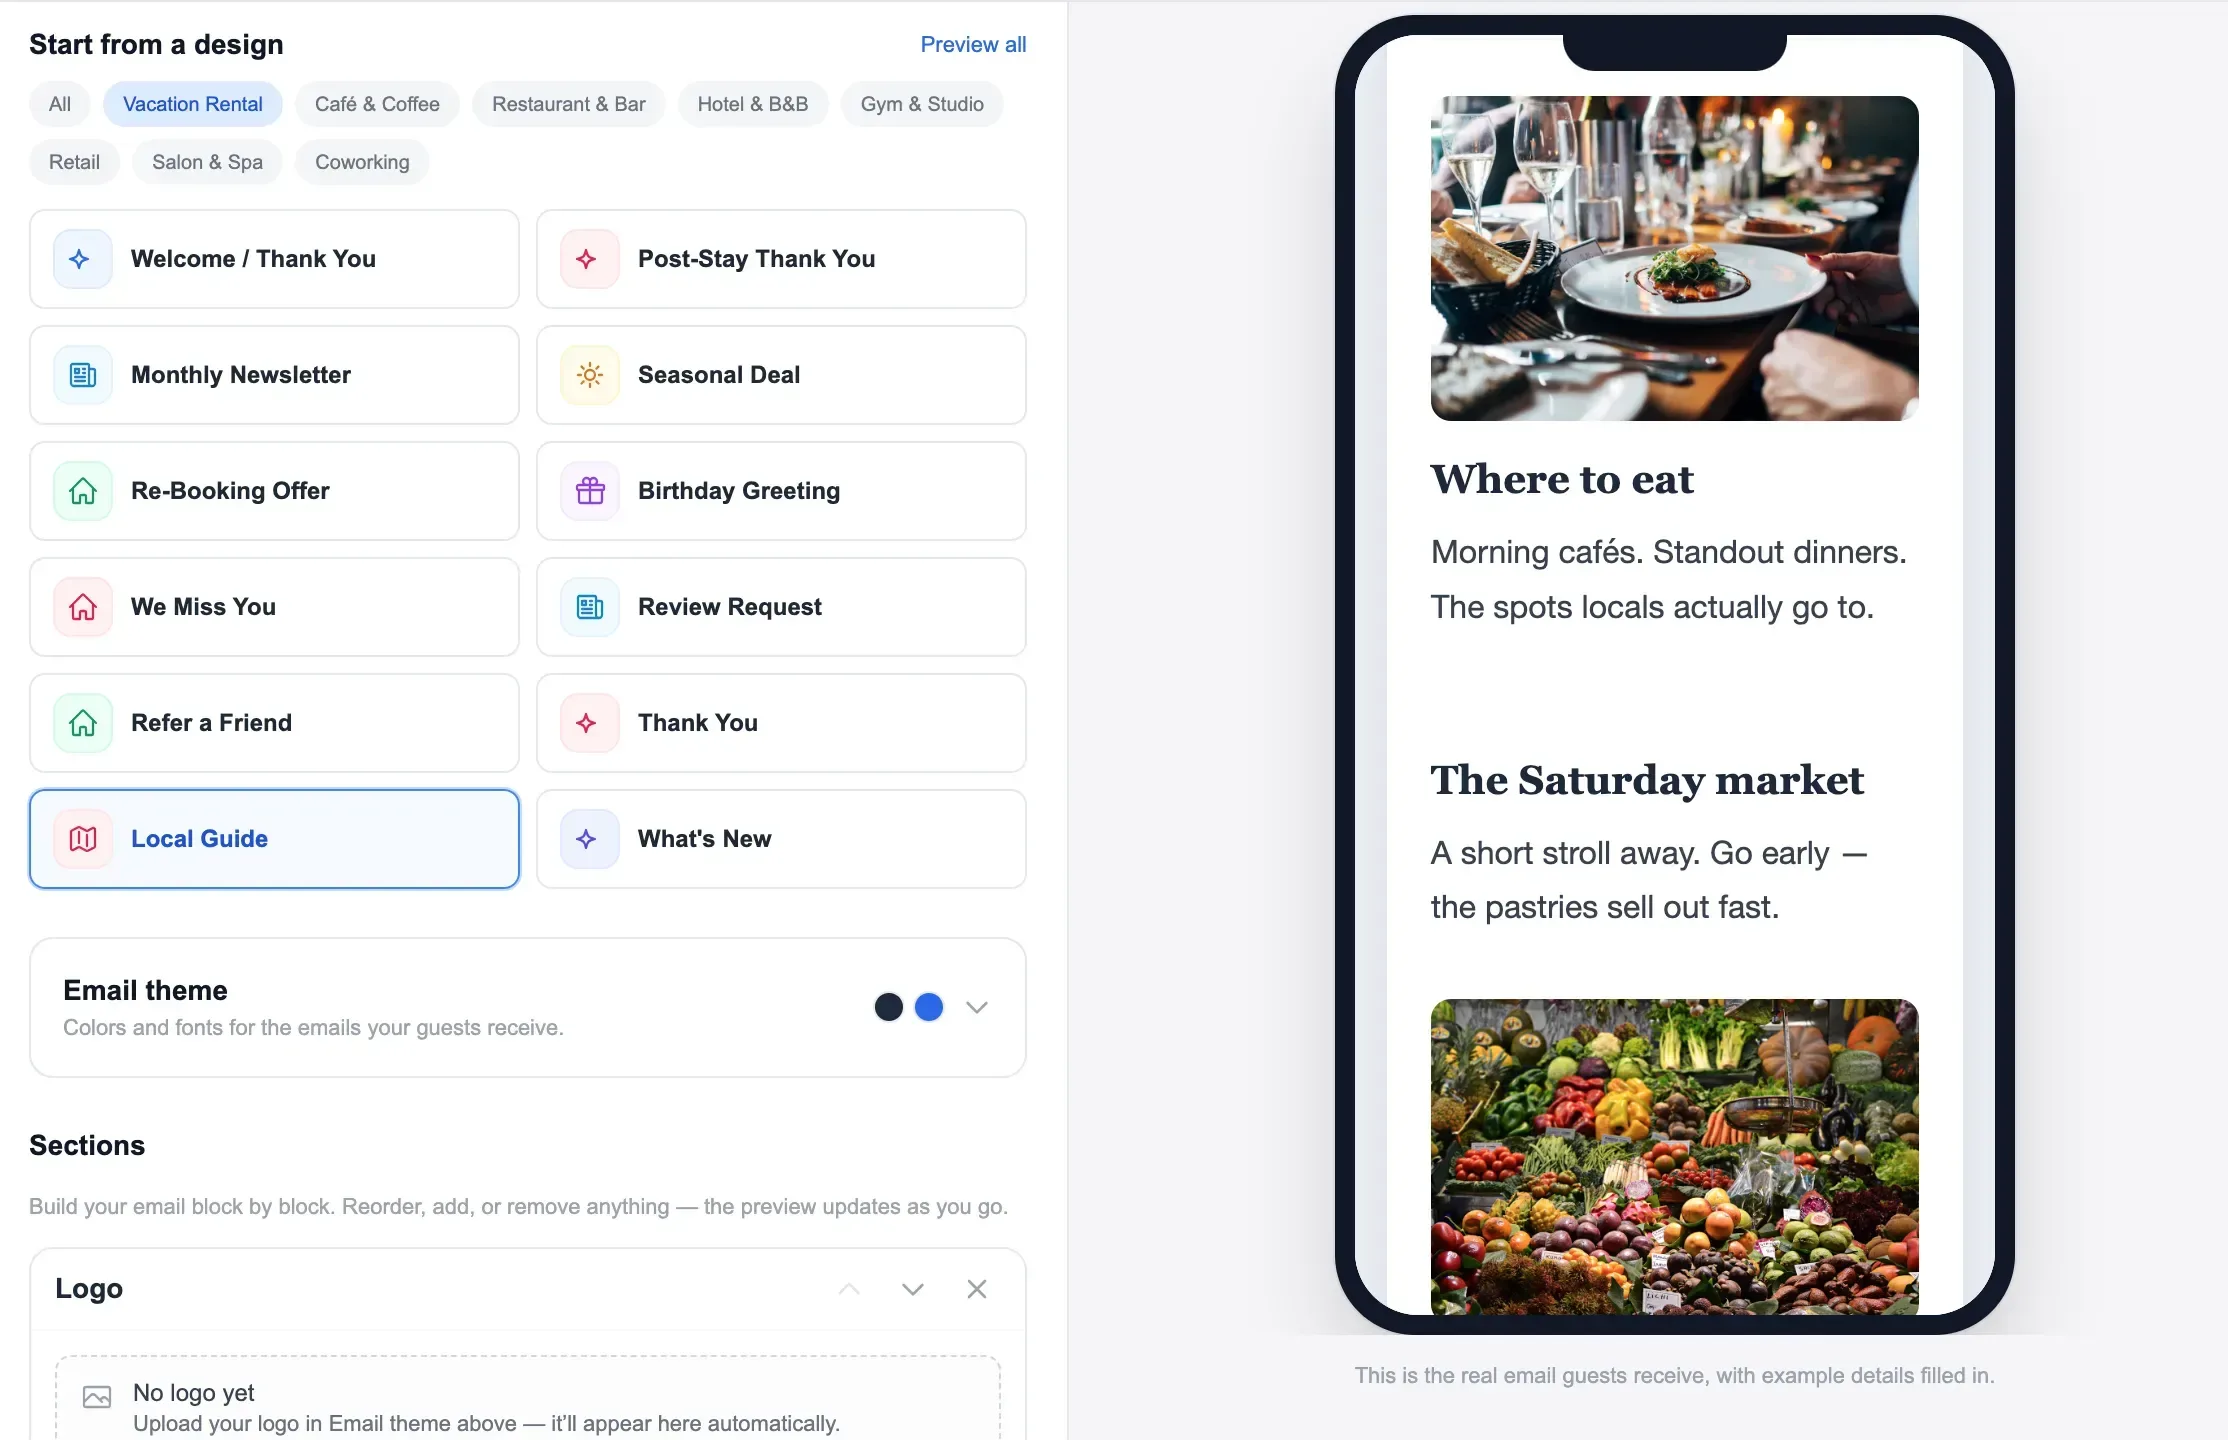
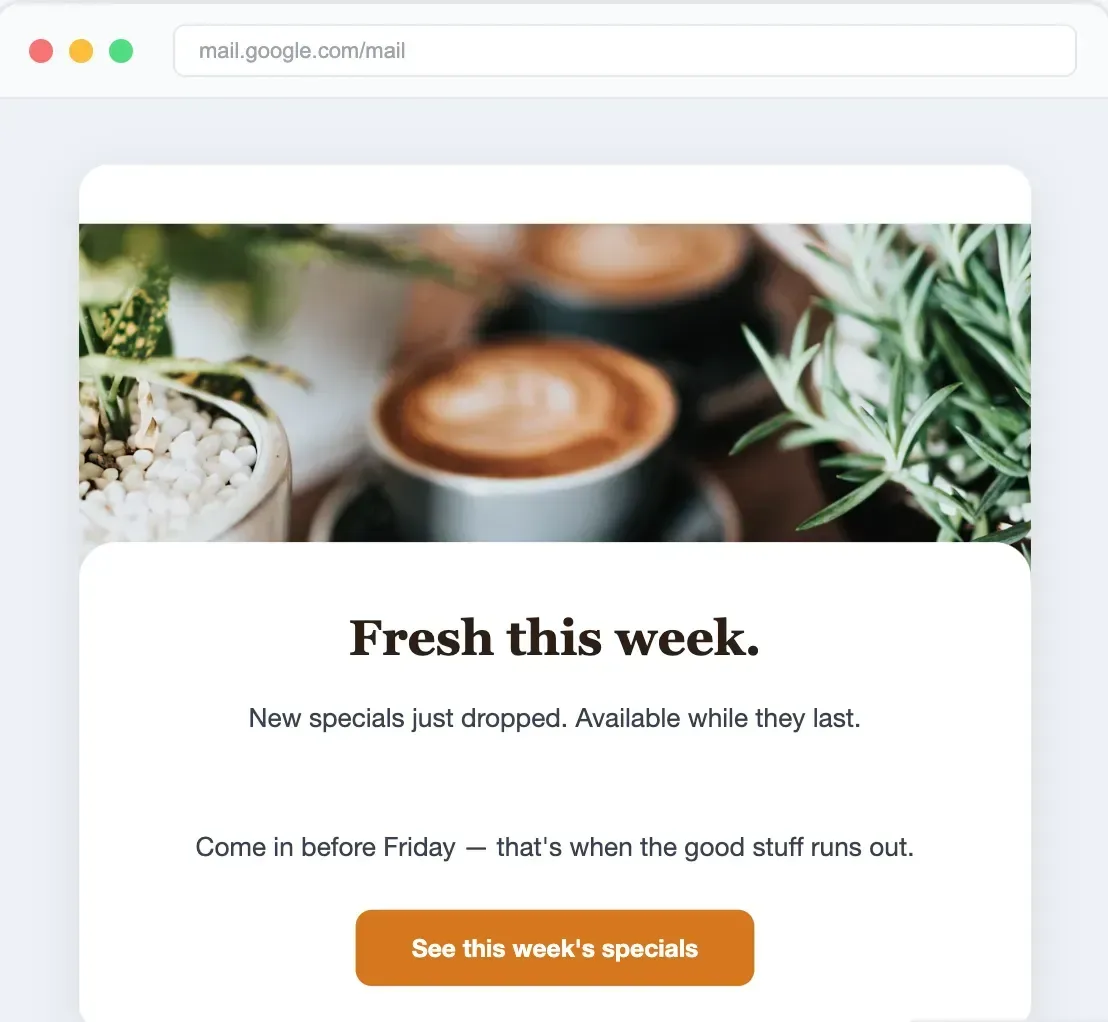
Emails your guests actually open
Pre-built templates for vacation rental hosts. Re-booking reminders, seasonal offers, thank-you notes.
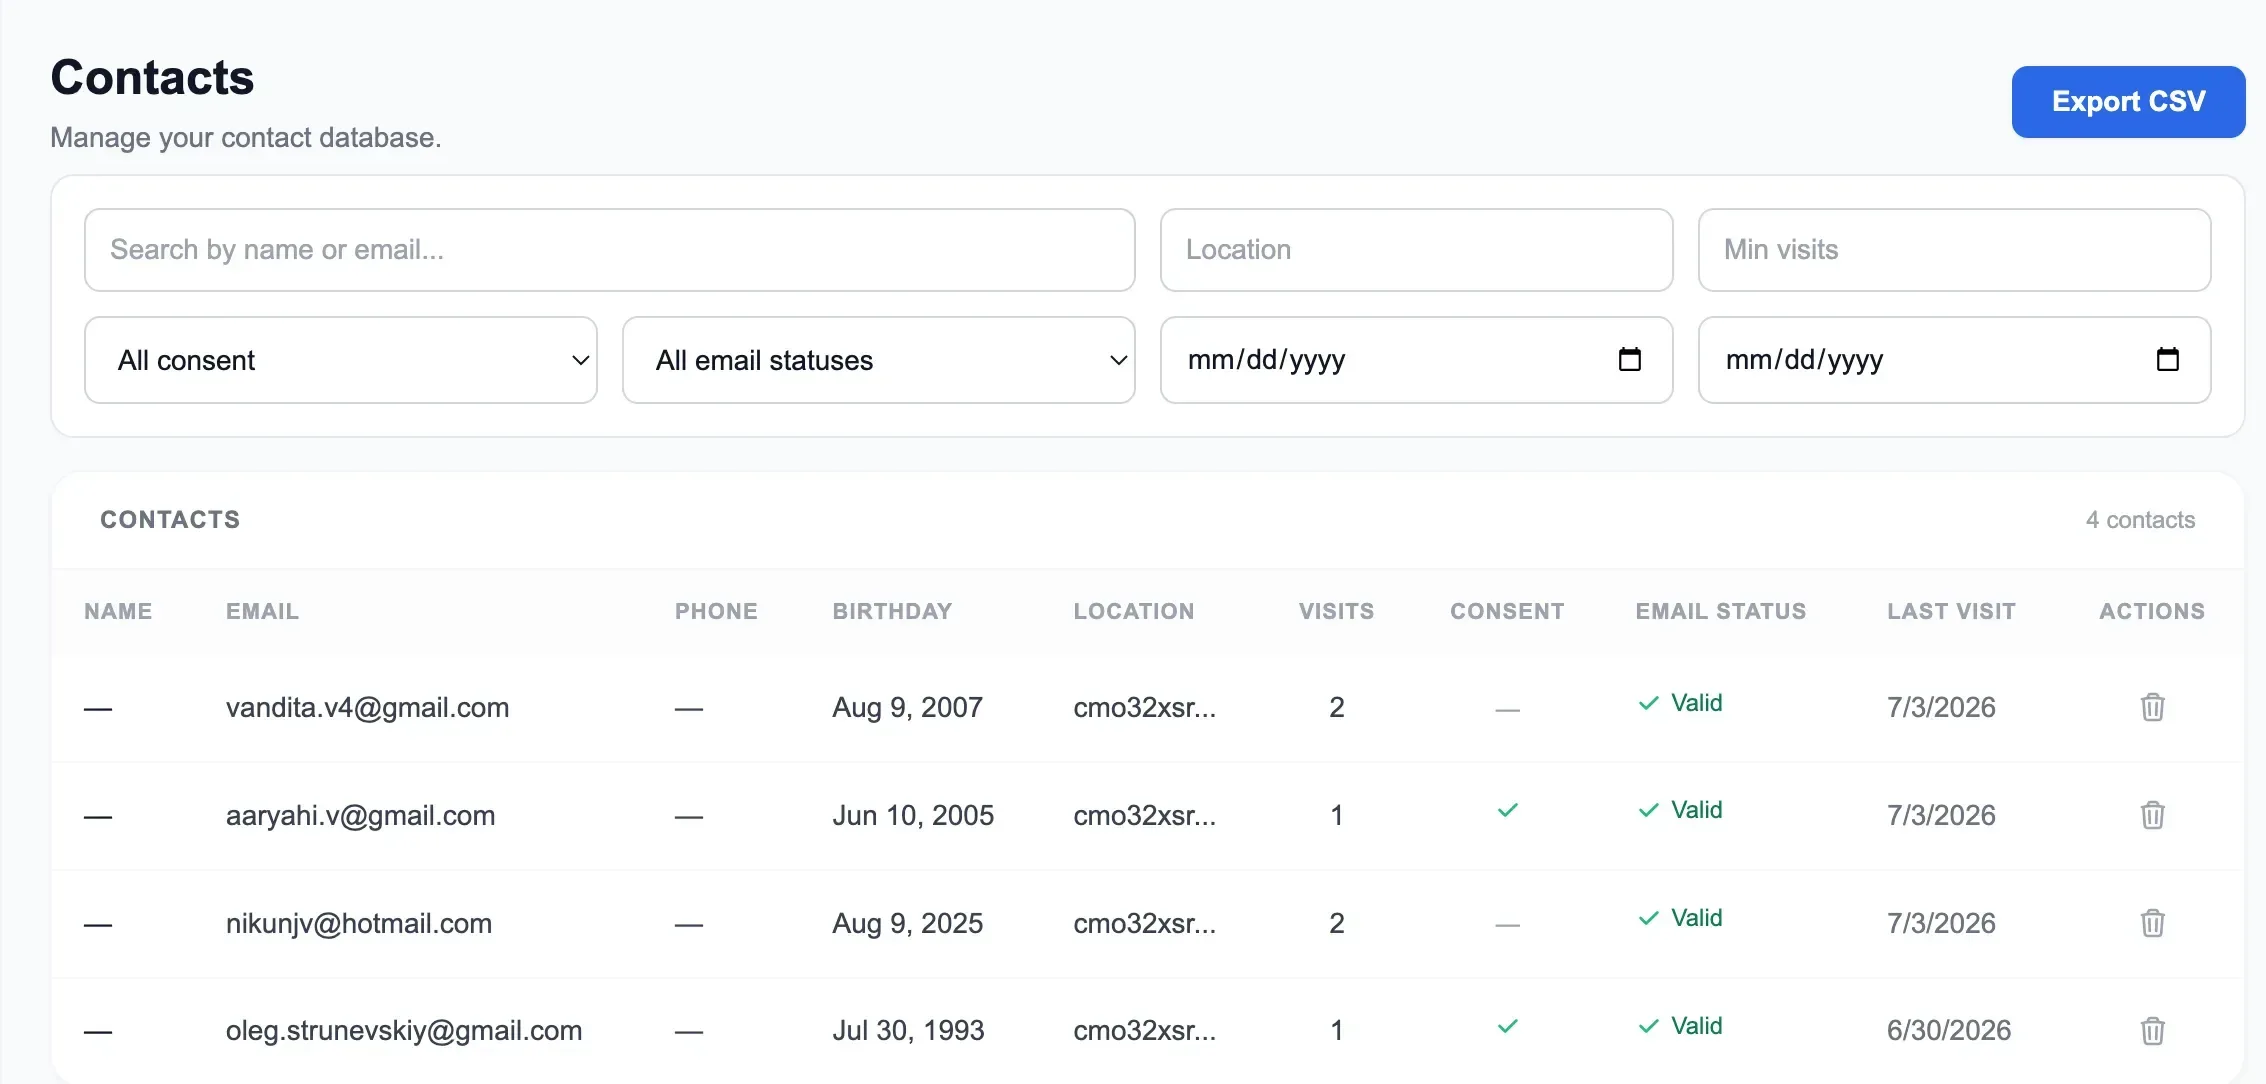
Your customer database — built automatically
Every WiFi connection adds a contact. Track visits, segment by property, export anytime.
What your guests experience
A branded, professional flow — not a generic “Terms and Conditions” page
Connect to your WiFi
Guest selects your network name (e.g. "Sunset Villa WiFi") from their phone's WiFi list. Open, no password needed.
See your branded splash page
Your property logo, colors, and a welcoming message. They enter their name and email — one tap to get online.
Land on your Custom HomePage
After connecting: property info, house manual, local recommendations, check-out time, and your social links.
DirectBookings vs UniFi's built-in Hotspot Manager
Same hardware, much more capability
Pricing
One plan. Everything included. No tiers, no upsells.
GuestWiFi
For vacation rental hosts & property managers
1 access point per property
No credit card required
Free setup included · Cancel anytime
UniFi captive portal FAQ
Common questions about using UniFi for vacation rental guest WiFi
Which UniFi access point is best for vacation rentals?
Do I need a UniFi Cloud Key or Dream Machine?
Can I keep my existing home network and add a separate guest network?
How does the captive portal capture emails?
What happens if my internet goes down — does the AP still work?
Can I use this with multiple properties?
Is this different from the UniFi Hotspot Manager?
How long does setup take?
Turn one-time guests into repeat direct bookings
Most hosts never see their guests again. Every OTA stay should become your next direct booking — your website accepts commission-free reservations, your WiFi keeps your brand in front of guests long after checkout.
Guest books on Airbnb
You pay the OTA commission
Stays at your property
Their only visit — for now
Connects to your WiFi
Branded splash page
Email captured
Added to your guest CRM
Automated follow-up
Offers & seasonal discounts
Books directly next trip
Zero OTA commission
Direct Booking Website
Accept commission-free reservations from day one. Your own branded site with payments, calendar sync, and automated check-in — live in 15 minutes.
- Branded booking website with custom domain
- Stripe payments — zero booking fees
- Calendar sync with Airbnb & VRBO
- Pre-signed rental agreements & waivers
Guest WiFi Marketing
Stop letting guests disappear after checkout. Capture their email when they log on to WiFi, then automatically invite them back to book direct next time.
- Branded WiFi splash page & guest email capture
- Automated rebooking campaigns & seasonal offers
- Repeat-guest discounts to win the direct booking
- Guest CRM across all your properties — any router
One repeat booking often pays for your subscription many times over — there's no OTA commission the second time around. Bundle subscribers save 30% on Guest WiFi Marketing.
Ready to capture guest emails?
Get started in minutes. Works with the UniFi AP you already have (or are about to buy).
No credit card required · Cancel anytime